Cosplay photography lighting!
If you’re new to cosplay photography, definitely check out my cosplay photography starter guide by clicking here. But if you already know your basics and want to improve upon your cosplay photography even further, then what better way to increase your skills than by knowing cosplay photography lighting?
To be honest, photography lighting is such a HUGE subject. You could literally read books upon books about lighting. It truly is a big skill and an art to master cosplay photography lighting.
In this article, I’m going to give you an easy-to-follow guide on cosplay photography lighting. That way, you don’t need to hit the library and spend a lot of dedicated time to learn about it. As long as you know these principles, you’ll be way ahead of the cosplay photography game!
Here’s a video showing some of the stuff I will talk about in this article. But if you want the whole guide, be sure to read this article in its entirety!
What is the best lighting for cosplay?
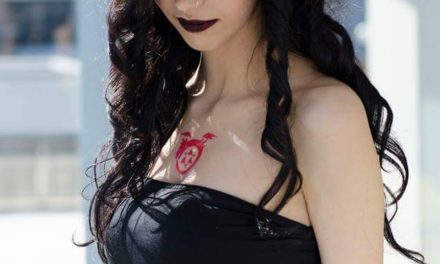
If you want to keep things simple, the best lighting for cosplay is being outdoors when the sun is out. This is because when you have natural sunlight, you don’t need to do any extensive setup for cosplay photography lighting, other than adjusting your camera settings such shutter speeds and aperture. When it’s bright and sunny outside, find a place with shade and take photos there. When it’s cloudy or when the sun is about to rise or set (Golden Hour), then anywhere outside is fine. But there are so many other ways to achieve perfect cosplay photography lighting!
In this post, I’ll go over the different ways to get these lighting settings, and what you need to know about cosplay photography lighting.
Without further ado, let’s get started!
Why cosplay photography lighting is important
While getting a good photo in the right spot is definitely important, getting the correct lighting is just as important. After all, photography itself is basically capturing light into a box and replicating the image into a piece of film (or in today’s world, in a digital memory). So you could say that lighting is everything when it comes to cosplay photography.
But let’s list some of the things that lighting has influence over the photo:
- Having good lighting will make your subject (i.e. cosplayer) look fabulous
- Not having enough lighting can make the cosplayer and hard to see
- Having too much lighting can make the cosplayer look unflattering and out of focus
- Using the wrong lighting can blur the photo and make it look messy
- Using different types of LEDs can give off the perfect fantasy vibe for a cosplay!
As you can see, there are so many ways you can play around with cosplay photography lighting.
So if you want to take good cosplay photos, all you have to do is shine a light on the cosplayer(s) and you’re good to go, right? Well not that simple! There are a lot of different advanced techniques when it comes to lighting. But for the purpose of this article, we’ll keep it simple and break it down to 2 simple types of lighting: hard and soft lighting.
What’s the difference between hard lighting and soft lighting? Which one is better for cosplay photography?
| Hard lighting | Soft lighting | |
| Features | Concentrated lighting over a small area Generally unflattering to the face (e.g. shadows, highlights your pimples and wrinkles on your skin) | -Wide area of lighting covering a large surface area -Generally flattering to the face (e.g. makes your skin glow, even lighting on your face) |
| Examples | -Internal camera flash directly on your face -Small indoor lighting -The sun on a bright day | -Taking a photo in the shade where light is evenly distributed -Indoor lighting that’s wide and covering a big area -Cloudy days |
As mentioned earlier in the article, soft lighting is generally better for cosplay photography, while hard lighting makes the cosplayer look like a hot mess on camera (unless they’re using very specific cosplay makeup to help with the photoshoot). Since most cosplay photos are portrait, when it comes to cosplay photography, you definitely want soft lighting.
But how do you know the difference between soft lighting and hard lighting? It’s very simple!
If you see a distinct line between highlighting your face and a shadow, then it’s hard lighting. If you see a nice gradual transition, then it’s soft lighting.
The reason why most indoor lighting is “hard” is because it’s such a small and sudden light source. Think of a flashlight. It’s a small concentrated light. Most of the time, suddenly changes in lighting such as a flashlight is very unflattering to the camera, especially on your face.
This is why you want to go for soft, big lighting. The light will naturally and gradually shine upon you, making you look a lot better in photos.
Best lighting scenarios to do cosplay photography
In this next section, we’ll go over the best and easiest ways to achieve perfect cosplay photography lighting. Let’s start with the easiest, which is simply shooting outdoors when it’s NOT raining and not at night.
There is one caveat though, and it has to do with the sun.
You might think because the sun is so big and large, it naturally produces soft lighting. Not quite.
Because the sun is so far away from us here on planet Earth, the sun produces hard lighting on a clear-sky day. So that’s why if you were to take a photo directly in the sun, you get those hard lighting features which is unflattering.
However when it’s cloudy, the light is evenly spread out by the clouds, so you get soft lighting from cloudy days. The same thing happens during Golden Hour (1 hour after sunrise and 1 hour before sunset), where the sun rays are more evenly distributed as well.
This is why when you’re shooting outdoors, you either want to shoot:
- In the shade when it’s sunny outside
- Anywhere you like on a cloudy day
- Anywhere during Golden Hour
Those 3 options are by far the easiest way to get optimal lighting for cosplay photography. It requires no external lighting on your end, and all you have to do adjust your camera settings and you’re good to go!
What about cosplay photography lighting indoors?
While taking photos outdoor is going to be the easiest way you can get the best lighting for cosplay photography, that doesn’t mean you can’t shoot indoors! At most Comic and Anime conventions, the lighting indoors is bright enough to produce soft lighting that will look great when you take photos of cosplayers. Not only that, some convention buildings either have big large glass windows to let natural sunlight in, or they have stained colored glass for even cooler effects! This is why I mention that conventions are the best place to get cosplay photoshoots done (click to read that article). Not only do you have wonderful lighting indoors at conventions, but you have a ton of space outdoors to also take photos…and for free (assuming you paid for your badge).
However, what if you wanted to take indoor cosplay photos at home? Or at your local college/university building? In both cases, the lighting inside may not be ideal for cosplay photography.
Not to worry, you have a few options:
- Ringlight. If you’ve seen various cosplayers or YouTubers online with a halo-shaped ring that shines brightly, then you’ve seen a ringlight! What you do is place your camera (either your smartphone or DSLR) in the middle of the ring. What the ringlight does is similar to what we talked about earlier; it spreads out the light evenly towards the subject so it produces soft, photogenic lighting. Ringlights are popular because they’re easy to use and very affordable. You can buy a decent one for less than $50 USD (although the ones for DSLRs will cost more than that). You probably won’t be doing fancy landscape photos with a ringlight, but you can sure do a lot with ringlights for cosplay portraits!
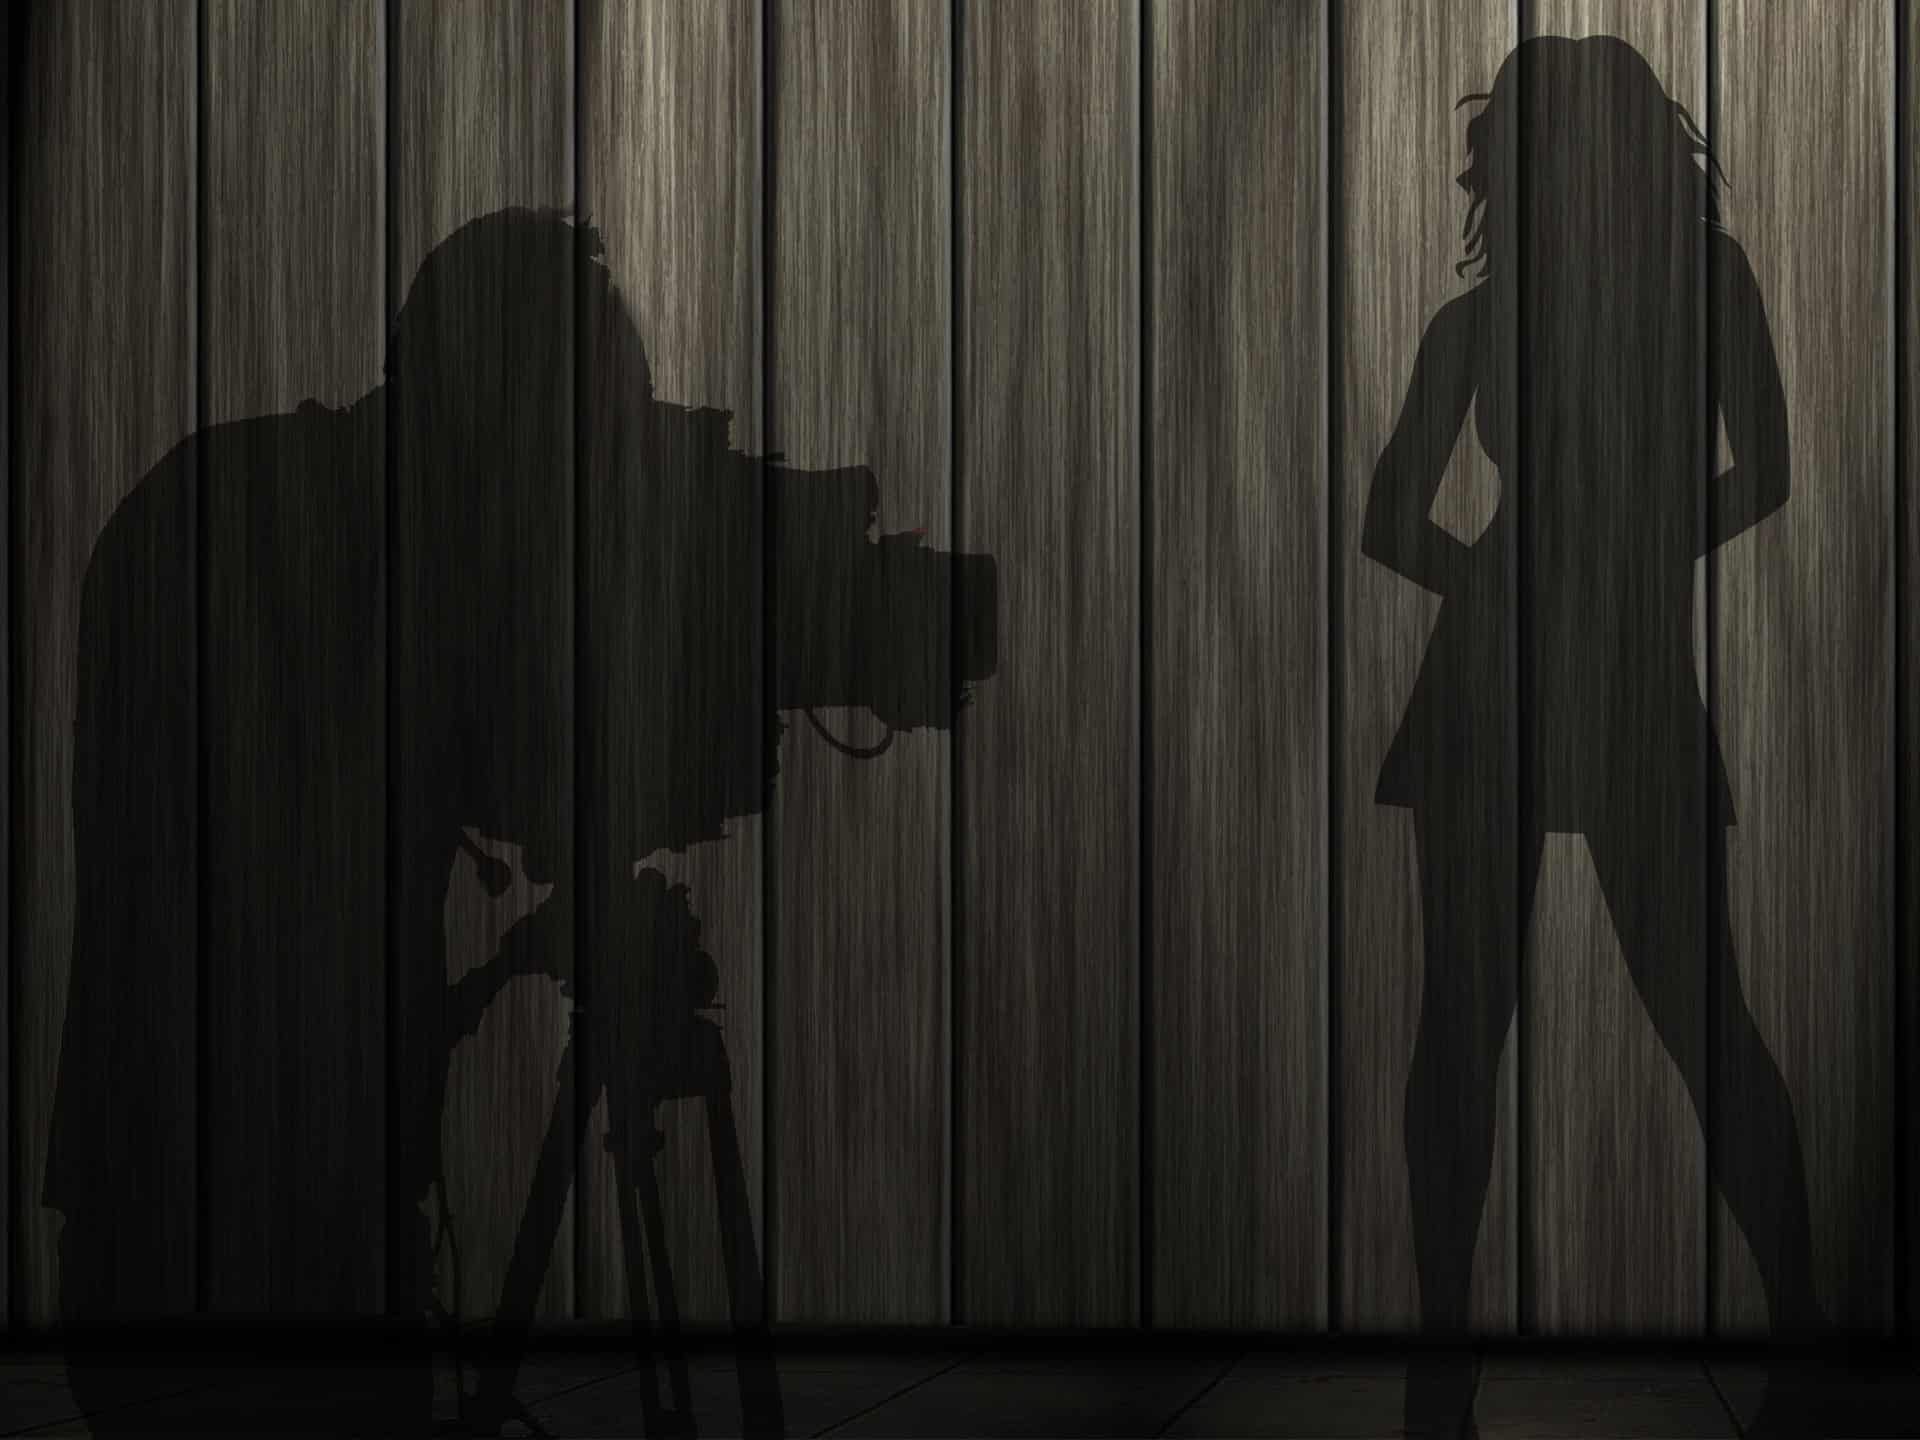
- Using an external flash. No, not the flash on your smartphone or the one built-in with the DSLR (in general, avoid using these ones). If you have the money, you can buy an external flash to attach to your DSLR, or one that activates automatically on its own. So what you want to do when taking a photo; instead of taking the photo with the external flash directly on the cosplayer (which you don’t want as that will produce hard lighting), you’ll want to BOUNCE the external flash onto the ceiling. Yes, by bouncing on the ceiling, the light will spread out evenly from the top, producing soft lighting. That way, you’ll get the perfect cosplay photography lighting!
- Umbrella lighting kit. If you want to go all out, you can opt for a setup with photography light umbrella. Like the ringlight and external flash, the umbrellas make it a lot easier to spread out a large amount of light to produce soft lighting. But the umbrella setup is by far the best way to do so, as it’s automatically setup without you as the photographer needing to adjust anything. However, it is the most expensive and does take a while to setup. Here’s a video below showing how to setup something with lighting umbrellas!
What about cosplay photography lighting at night?

The setups mentioned earlier are the most popular ways to get cosplay photos. However, there is one other time period during the day you can also get some great photos, as long as you have the right setup: at night! You might think that it’s impossible to take decent cosplay photos at night, well because it’s dark outside.
While it’s true that it’s more difficult, it doesn’t mean it’s impossible. In fact, with the right use of lighting, you can get some amazing results at night time, even looking better than if you were to take photos during the day! Think darker series like Cyberpunk or Spider-Man. Those cosplays look great in a darker, nighttime setting.
Here are a few nighttime cosplay lighting ideas. As always, make sure you have permission to take photos at that particular location (click here to read all about cosplay photography tips):
- City center. The downtown area of the area always has pretty street lights! From neon lights to beautiful street lamps, you’ll find a variety of places to potentially take some photos.
- On a beach boardwalk. Whether it’s on a lakefront or near the ocean, there’s bound to be a nice boardwalk nearby with nice lighting for it.
- At home. Whether you live in a condominium with a balcony or a house with a backyard, you can use your own home to try out some night cosplay photography! It’ll be much easier to setup your lights on your own property.
If you decide to try out some night cosplay photography, here are a few things you should know:
- Use a tripod. You’ll find that taking photos at night will require much slower shutter speeds, meaning you’ll have to hold the shutter button a lot longer. This can lead to blurry photos because your hands will naturally shake, even if you have iron grips! So I recommend getting a tripod so you don’t have to hold the camera while taking a photo. Your photos will come out a lot better with a tripod, especially at night.
- Try to use as little ISO as possible on your camera. ISO is one of the settings on the camera to increase brightness on the photo. This is very useful for night photography when lighting is limited. However, there is a catch. The higher the ISO, the more “grainier” your photo becomes. So use wisely and as little as possible. If you’ve watched Dragonball Z, think of ISO like using KO Ken. Great and effective but the more you use it, the more damage it does to yourself (in this case, to your photos).
Summary

And there you have it; a complete on cosplay photography lighting! At first it may seem completely daunting. But really, you just need to know the basics to start with, and you’re already ahead of the game. Lighting does take a lot of practice and experimentation to master. But hey, if you’re reading this article, you are probably doing cosplay photography for fun anyway. So it’ll come with experience. 🙂
If you have any questions or other useful tips you want to share, leave them in the comments below!
My name is Roger Senpai. I’m a cosplayer that’s been in the community for well over a decade now. I’ve traveled all over the world to Anime and Comic conventions and hosted my own cosplay events. Now I’m writing articles for new and experienced cosplayers like you to help inspire, save you money and improve your cosplays!