How to take good cosplay photos!
Whether you’re new to cosplay photography, or a cosplayer yourself that’s looking to get better photos, we all strive to look better on camera. While it’s true that practice makes perfect and many external factors can help (e.g. cosplay makeup), there are also many techniques you can do behind the camera to get better cosplay photos.
In this post, I’ll go over 10 best ways on how to take good cosplay photos! Some of these techniques are very easy to implement, so you’ll see quick results right away. Some of these will take practice but in the end, you’ll definitely get better photos in the long run.
Before we begin, let’s address this false myth…
Is it necessary to have fancy equipment for good cosplay photos?
When you see a bunch of cosplay photographers with their fancy equipment that costs thousands of dollars, you might think the expensive gear is mandatory to take cosplay photos.
Not at all!
Alright, let’s get started on the 10 things.
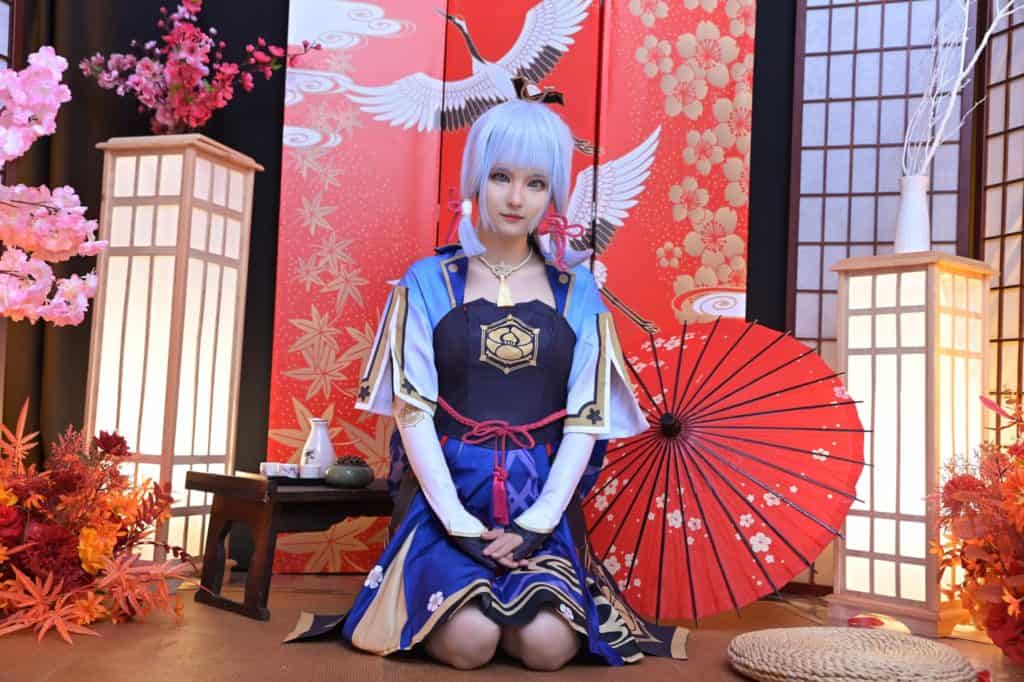
1. Making use of backgrounds and the environment.
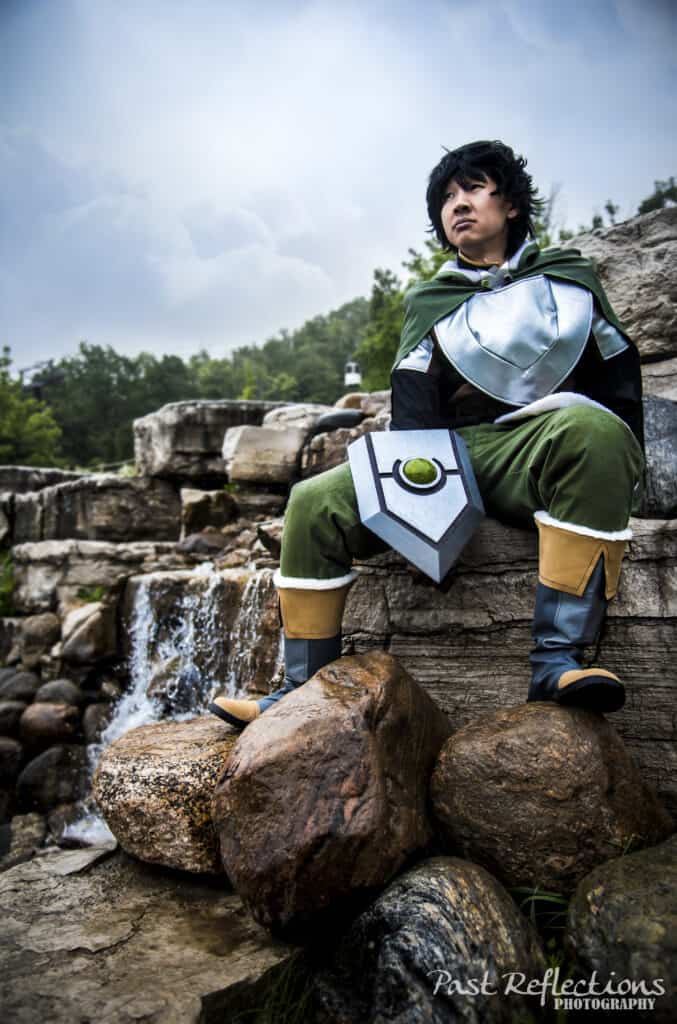
When it comes to cosplay photography, it’s all about making use of your environment, background and geography. Because cosplay is fictional by nature, you can get away with doing a lot of cool stuff that would look ridiculous in regular photography. Things such as:
- Standing on top of something tall to make you look like a superhero
- A pond or waterfall to accentuate your character’s features
- Blending in with the stone walls with your medieval character
Sure, you can take cosplay photos in a hallway or in a regular studio. But it would look so much cooler and better if you’re taking the cosplay photos in an environment that complements the cosplayer’s character.
2. It’s all about the angles.
While it’s okay to take cosplay photos straight on, you can take it to the next level by utilizing different camera angles. This is a pretty broad topic on its own, but here are some examples of how different camera angles can make a huge difference:
- Taking the photo from above to make the cosplayer model look cute and chibi
- Take the photo from below to make cosplayer look strong and dominant
- Instead of shooting straight on, have the cosplayer do a 3 quarter turn to accentuate their curves and make them look slimmer
If you’re not sure which camera angles are best for the cosplay character, just go ahead and experiment with different ones. It never hurts to have more photos taken, and you end up with a really good photo in the end.
3. Add special effects.
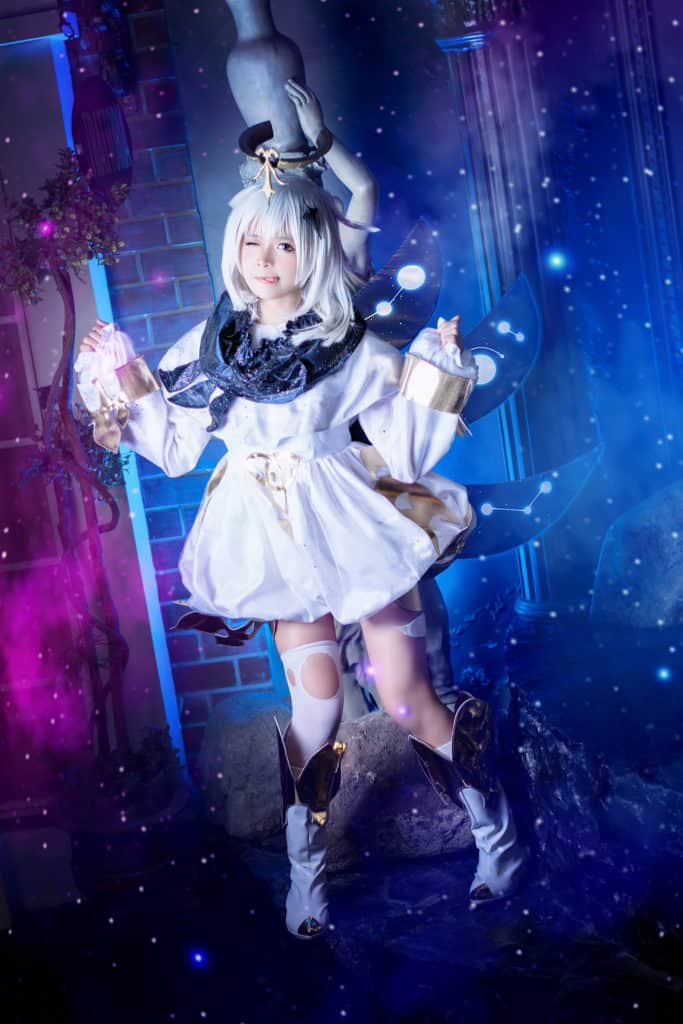
For the most part, if you tried adding special effects or graphics to a regular photo, it would probably look weird or tacky. But when it comes to cosplay photos, it would look awesome! Again, we are dealing with fictional characters, which makes special effects fit really well with the theme. Imagine cosplaying Ryu from Street Fighter and you added in his Hadouken attack. Or if you’re cosplaying Zhongli from Genshin Impact and you added gold coloring to reflect his Geo element. Or a character from Silent Hill and you added in darker lighting to show the spookiness of the character.
Stuff like this work really well with cosplay photos. So don’t be afraid to use the special effects!
4. Use RAW format.
This is by far the easiest way to get better cosplay photos; just save your photos in RAW format (you can also save in JPEG as well). If you don’t know, RAW is a format on your digital camera that takes up far more space than a JPEG phot. But on the upside, you can do a LOT more editing with a RAW file than a JPEG file. If you were to put a RAW file and JPEG file into a photo editor, you’ll have many more options to choose from with a RAW photo.
And by having more options, you can do a lot more beautiful edits that inevitably make your cosplay photos look a lot better.
5. Find out the character’s signature poses.
One thing I find that people love to see with cosplay photos is references to the original material. For example, a Junko Enoshima cosplay is great. But it’s even cooler if you took a photo of that Junko cosplayer doing her signature tongue pose! Another example is Satsuki from Kill La Kill. Everyone loves doing that pose where the photo is taken from behind, showing her awesomeness and attractiveness.
So one easy way to get good cosplay photos; do some research on the character and look for reference photos. If you’re able to get photos that pay homage to the actual series, then you’ll get much more engagement that way!
6. Lighting is EVERYTHING.
When you think about it, photography is really just manipulating lighting and recording what’s happening at the moment. So you can imagine that having a good knowledge of lighting is really important for taking good cosplay photos. Like, you can have the fanciest camera equipment but if you don’t know how to properly setup the lighting, then the photos won’t turn out good.
I wrote an entire guide on cosplay photography lighting (click here to read). But I wil summarize the most important you should know about cosplay lighting:
- For cosplay photography, soft lighting is usually better than hard lighting. Soft lighting gently bounces light onto a cosplayer’s face and makes them look flattering. Hard lighting is generally uneven and will make the cosplayer look not so great by showing their unflattering features (e.g. pimples, wrinkles)
- Take advantage of Golden Hour. If you don’t know, Golden Hour is the 2 time periods of the day; 1 hour after sunrise and 1 hour before sunset. This is when the sun has very soft light and in general, the lighting outdoors is perfect to take photography, especially cosplay photos.
- If you want to do cosplay photography indoors, be sure to bounce the light above the cosplayer and not directly on them. Think of it like an umbrella; you want the lighting to spread evenly above them.
7. Follow the Rule of Thirds
The Rule of Thirds is one of the most important rules of photography. In short, it’s about making your cosplay photo more interesting, instead of doing the typical static photo where everything is squared in the middle. In this case, you want to take the photo of the cosplayer AWAY from the center to make the photo more compelling. It also involves lining up things such as their eyes and the horizon to specific points in the frame.
8. Embrace the shallow depth of field
A popular style of cosplay photography (or portrait photography in general) is the “shallow depth of field.” This is when the subject/model is focused, while the background is blurry.
You can do this with your camera by simply using high aperture (i.e. lower f/stops on the camera) and moving the cosplayer and background away from each other as much as you can. That way, the background will be blurry but the cosplayer will be shining beautifully in the photo!
You can watch the YouTube video below explaining the Rule of Thirds:
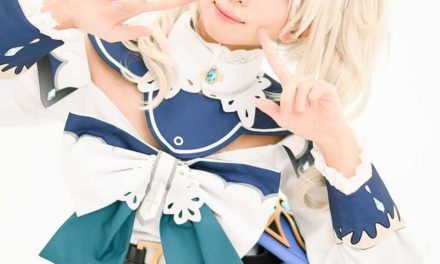
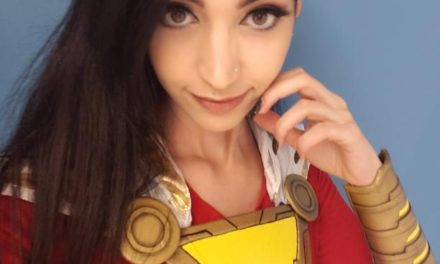
9. Posing can make a huge difference

It’s one thing to have your cosplayer just stand in front of the camera. But your cosplay photos will look even better if you can get the cosplayer to do some poses for the camera! It’ll turn a decent photo into an amazing one.
Since there are so many characters out there, you can do a variety of poses. Some examples:
- · Action pose! (e.g. running like a ninja, sword slash, jumping)
- · Legs crossed while sitting down
- · The Grace Face! (putting your hand underneath your chin to make your jawline look slimmer = more feminine)
- · Hands behind your head (accentuate your cosplay, especially if it’s a bombshell cosplay)
- ·!– /wp:list-item –>
For a full list of cosplay photography poses, click here!
10. Tell a story!
This tip is from the talented cosplay photographer, Shaded Lenz!
It’s easy to get a photo of a cosplayer by just turning on the “Auto” function in your camera. But that would be boring and you could do so much better! So the next time you decide to take cosplay photos, try to tell a story or send a message to the viewer.
Remember that saying, “A picture is worth a thousand words?”
That’s exactly what you want to do in cosplay photography!
Here are some examples and ideas of cosplay photos telling a story:
- Harley Quinn photo with dark lighting and an evil grin – Harley is mischievous and crazy
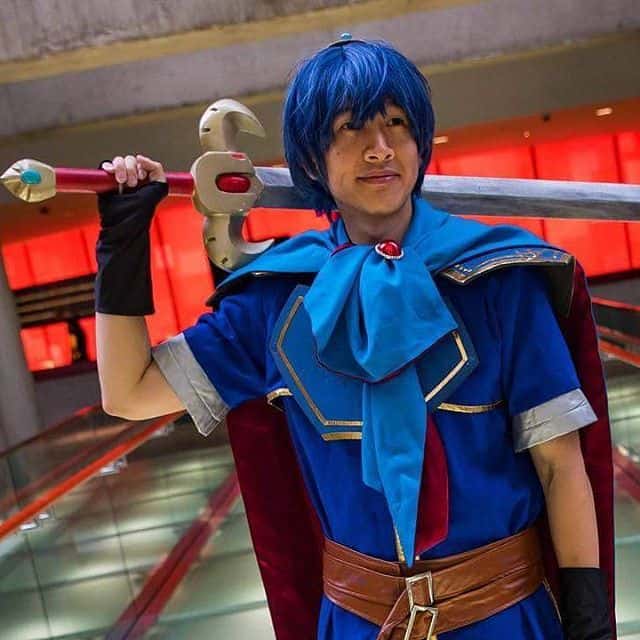
- Marth cosplay taking beside the relics – Capturing the medieval and noble themes of Fire Emblem
- KDA cosplay with the neon lighting and confident facial expression – how cool she is
By attempting to convey a message with your cosplay photography, your photos will be far more impactful and memorable!
Summary
To summarize, here are the 10 best ways on how to take good cosplay photos:
- Making use of backgrounds and the environment.
- It’s all about the angles.
- Add special effects.
- Use RAW format.
- Find out the character’s signature poses.
- Lighting is EVERYTHING.
- Follow the Rule of Thirds.
- Embrace the shallow depth of field.
- Posing can make a huge difference.
- Tell a story!
And there you have it; 10 best ways to take good cosplay photos! I hope you found this post useful. 🙂
Which one did you find most interesting? Let me know in the comments!
My name is Roger Senpai. I’m a cosplayer that’s been in the community for well over a decade now. I’ve traveled all over the world to Anime and Comic conventions and hosted my own cosplay events. Now I’m writing articles for new and experienced cosplayers like you to help inspire, save you money and improve your cosplays!